When a sighted person skims the content of a document, they typically read the headings, lists, and other text with visual prompts. If these aren’t created using existing Microsoft styles, someone using a screen reader will be unable to use these same prompts as screen readers don’t announce bolded text or explain a bullet image. A properly formatted document not only benefits those using screen readers but also creates the structure for use by some Microsoft tools such as building a Table of Contents or creating cross-references.
Headings
Headings create an outline for the page, starting with Heading 1 and following in order without skipping levels. Heading 1 is the document title, describing the document as a whole. This should be the first text of the document. The following headings should be in descending order without skipping heading levels. For example, you shouldn’t use a Heading 4 after a Heading 2 with no Heading 3 in between them. This webpage is an example of proper heading structure:
Heading 1: Headings, Lists, and Spacing Heading 2: Headings Heading 3: View Heading Structure Heading 2: Bulleted and Ordered Lists Heading 2: Spacing, Tabbing, and Page Breaks Heading 3: Spacing and Tabbing Heading 3: Page Breaks
While creating or editing longer documents, it can be difficult to keep track of where you are in your heading structure. Use Microsoft’s Navigation Pane to view your headings as an outline. This view also represents how a Table of Contents would look, and it is what Acrobat will use for bookmarks in your PDF. You can click on the headings in the Navigation Pane to be directed to that location in the document.
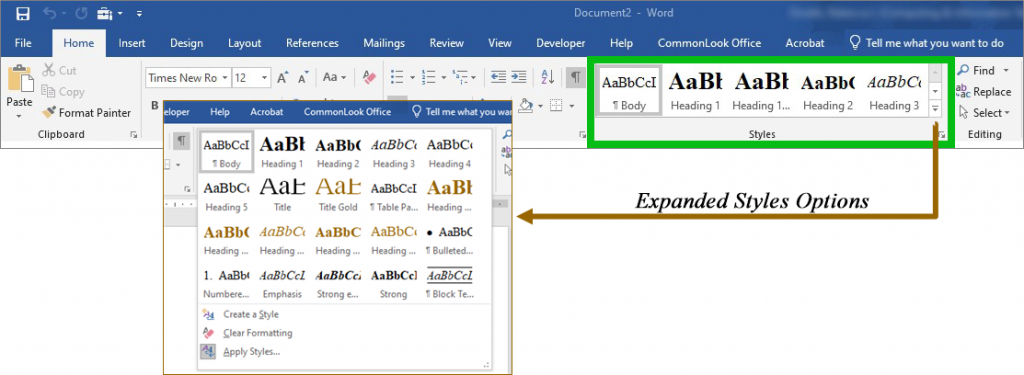
Figure 1
In the tool ribbon, select the View tab.
In the Show panel, check the box next to “Navigation Pane.” (See Figure 1.)
From the Navigation Pane, click on Headings if not already selected.
To adjust the structure, click on the heading in the Navigation Pane.
When the page redirects to the location, highlight the heading text in the document and select the correct heading from the Styles menu.
Bulleted and Ordered Lists
There are two types of lists: bulleted and ordered. A bulleted, or unordered, list is a group of related items, such as a grocery list or documents that must be included with a form. An ordered list is a set of items that occur in sequence, such as the instructions above on how to view the Navigation Pane.
When a screen reader encounters a list, it informs the listener what type of list it is and how many items are in it. For this to work, the list must be created using the list styles in Word. Simply adding a bullet symbol or numbering text is not sufficient for the screen reader to translate the information correctly. Sometimes, Word will automatically update your text when it detects that you are creating a list. You can also select the text and apply the styles from the Styles menu in the Home tool ribbon in Word.
Don’t over-use bulleted lists. Sometimes text is best written as sentences in a paragraph. This can make the content easier to read and draw more focus to lists when they are needed.
Spacing, Tabbing, and Page Breaks
Sometimes we need to create a cover page, want a bit more space between paragraphs, or need the date to be further to the right on the page. Often, people will add repeated characters, such as blank spaces, multiple tabs, or blank line returns to accomplish this. Unfortunately, these are spoken by screen readers, interfering with normal reading. Also, a sighted reader could mistake blank lines for the end of a document. They can also cause problems when editing the document later. The solution is simple: use built-in Word features.
Spacing and Tabbing
Figure 2
Remove any repeated characters (spaces, line returns, or tabs).
Select the text that needs extra space above or below or needs to be indented.
From the tool ribbon, select the Layout tab.
From the Paragraph group, you can adjust the indent to move the text left or right across the page. From the same group, you can adjust the spacing above or below the text.
To set specific tab stops on a line or for selected text, click on the window icon for Paragraphs below Spacing to open the Paragraph window, then click on the “Tabs…” button. (See Figure 2.)
Page Breaks
Figure 3
Remove any repeated characters (spaces, line returns, or tabs).
Place the cursor to where you would like the next page to start, such as at the beginning of a paragraph or a heading.
From the tool ribbon, select the Insert tab.
From the Pages group, select Page Break. (See Figure 3.)
You can also use the keyboard shortcut of pressing both the CTRL and Enter (or Return) keys at the same time to create a page break.

 There are two types of lists: bulleted and ordered. A bulleted, or unordered, list is a group of related items, such as a grocery list or documents that must be included with a form. An ordered list is a set of items that occur in sequence, such as the instructions above on how to view the Navigation Pane.

