Before adding an image to your site, you should ask yourself whether it is required to achieve the effect you are after. A well-placed image can communicate more information than a thousand words. Too many images can cloud your message and affect web performance.
As there are many aspects to selecting and sizing images, we welcome your requests. The web services team can assist you when you need to change an image or wish to add an image to your web pages.
When selecting images, consider:
Message – What message does this image give your audience? Does it add something valuable to the page, and to the web experience?
Quality — Does the image have strong color, good focus, and composition? Is it strong, clear, and of high, professional quality?
Layout and Size – Will the image fit into the space available for it
Copyright – Do you have the full rights to use the image as your own? If it’s your own image, do you have the permission of the photo’s subjects to post the image publicly? Remember that copyright laws and professional courtesy mean that images downloaded from the web – even via Google searches and the like – aren’t necessarily available for you to use.
Questions? Talk to the Web team: we can help.
Adding images to your web pages builds off of skills you have already developed in uploading files and inserting links.
First, you will need to upload your image. You can follow the Adding Documents/files to TYPO3 Workspaces upload directions in the TYPO3 Editing Guide, but select the Images folder rather than the Documents folder.
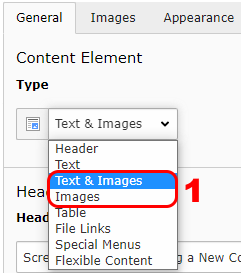
Open your Content element and then select Text & Images or Images for Type from the drop-down list (as pictured in Figure 1). There are more types that are beyond this guide. Figure 1
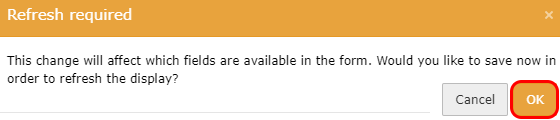
When prompted to, save to refresh the display, click OK (as pictured in Figure 2). Figure 2A new Images tab will appear for the Content Element. This is where you will link your image.
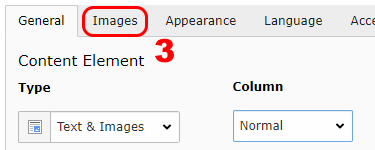
Click on Images tab (as pictured in Figure 3). Figure 3
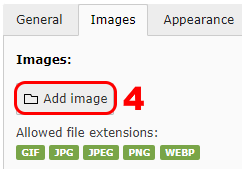
Click on Add image (as pictured in Figure 4).**You must have uploaded your image to the filelist already. Figure 4
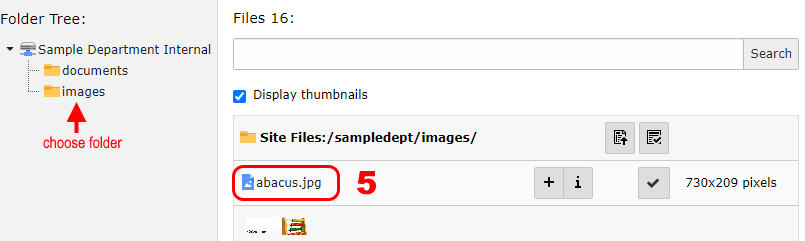
Go to the appropriate department images folder and select the image that you wish to use by clicking on the filename (as pictured in Figure 5).
Figure 5
The selected image will be added to the content element.
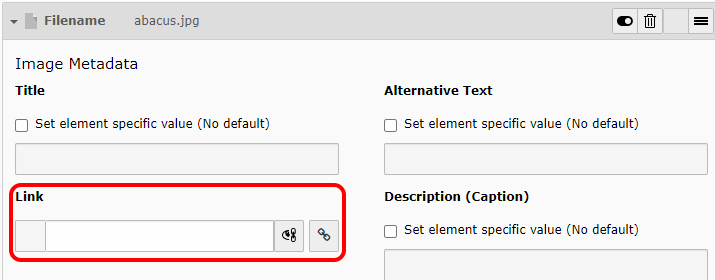
You can also add a link to a file or URL here (as pictured in Figure 6). Figure 6
Images require Alternative Text for ADA compliance for screen readers. You will add that here.
Click on the radio button next to Override under Alternative Text, and enter a succinct description of the content and function of the image (as pictured in Figure 7). Figure 7
Do not use “image of” or “link to” or similar phrases.
The Alternative Text should be a succinct description of the image. The Alt Text is read by screen readers in place of images. The text should present the content and function of the images (Webaim.org provides guidelines for alternative image text).
Checking the Description (Caption) option allows you to add a visible caption to the image.
Image Editing
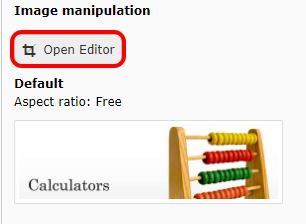
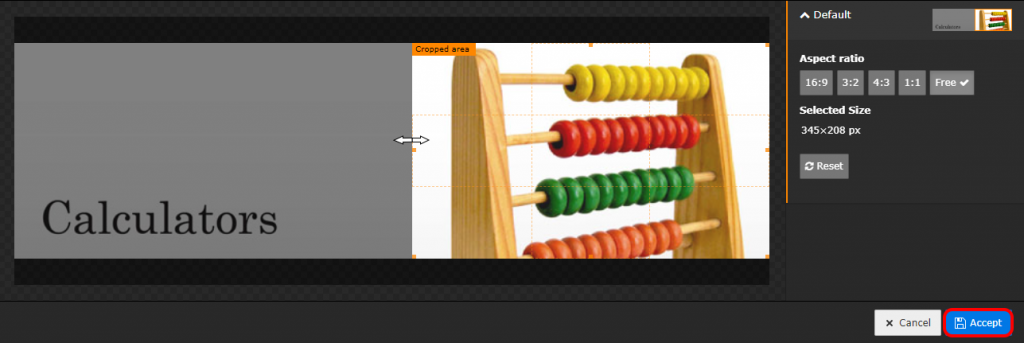
Although it is best to do image editing before including it in a TYPO3 content element, there is a tool for cropping an image.
Under Image Manipulation, choose Open Editor (as pictured in Image 8)
Figure 8
Move the cursor over an edge of the image until a double arrow appears, hold down the mouse button, drag the image boundary to the desired position, and choose Accept (as pictured in Figure 9)
Figure 9
Image Positioning
Now that you have your image added, you need to adjust its position on the page.
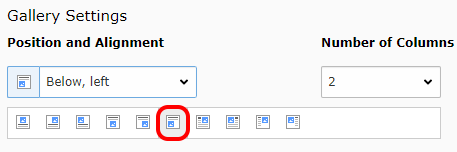
Go to Gallery Settings
You will be able to create columns and set the position of your image in the Appearance tab.
You can experiment with the Position and Alignment options. (as pictured in Figure 10) Figure 10
Save and view to check your work.
Remember to save your work as you go along!
Other Formatting Options
If you review the drop-down menus you will see other formatting options. Most of these represent formats that are part of the College’s web design and should be used appropriately to stay within the design.
Alerts
Alerts place text that you wish to call attention to within a box.
Select your text.
Select Alerts from the Formats drop-down menu.
Pick one of the alert styles from the drop-down menu. (as pictured in Figure 11) Figure 11
Save and view to check your work.
Adding Content Elements
You may find that you need to add a new Content Element. You can Create a New Content Element or Copy an existing Content Element.
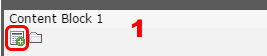
Create a Content Element
Select the Create a New Element icon from within the Content Block (as pictured in Figure 12). Figure 12
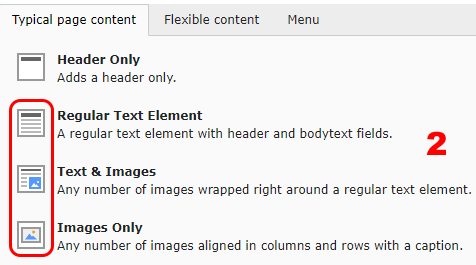
There are several Types of Content Elements. For the most part, you will use Regular Text Element, Text & Images, or Images Only.
Select the type that matches what you need (as pictured in Figure 13). Figure 13
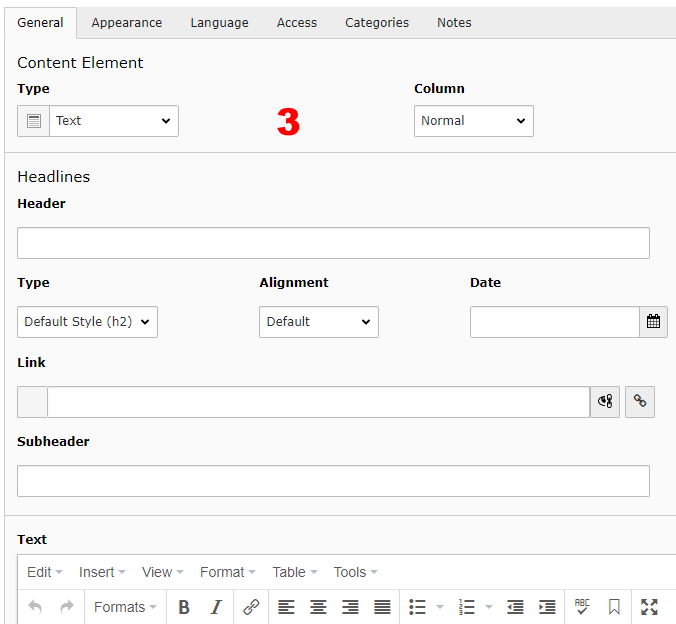
A blank new Content Element will be created on your page. You can now edit as usual (as pictured in Figure 14). Figure 14
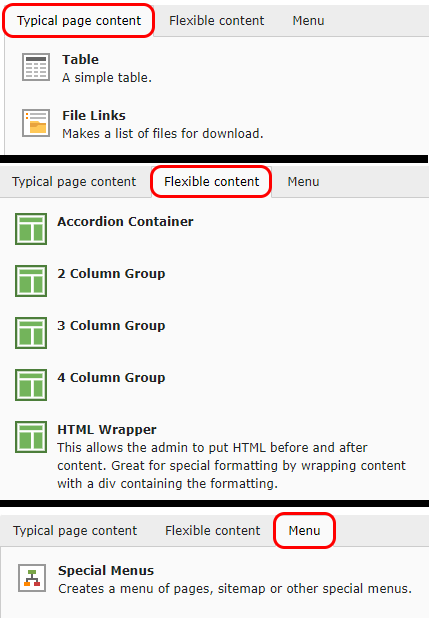
You should put in a Technology Request if you are interested in any of the Special Elements,Flexible Content, or Menu elements to receive additional instructions (as pictured in Figure 15).
Figure 15
Copy a Content Element
You may want to copy a Content element. To begin:
Select the Copy Element icon. – The screen will refresh (as pictured in Figure 16-1). Figure 16-1
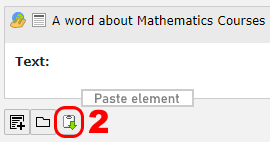
You can now select a Paste Element icon. Select the Paste Element icon at the location where you want your new Content Element to be located on the page (as pictured in Figure 16-2). Figure 16-2
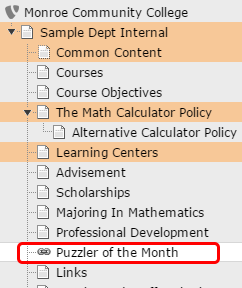
The copied Content Element will appear. The copied element will always be hidden and (copy *) will replace the Header (as pictured in Figure 16-3). Figure 16-3
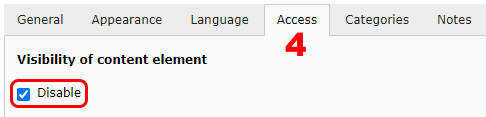
Open the Content Element to edit and go to the Access tab. Uncheck the box next to Content Element-Disable and Save(as pictured in Figure 16-4). Now you can edit your text as usual. Remember to type in a new Header! Figure 16-4
Updating a link in the Left-hand Navigation
At times, it may be necessary to update a link that is in the left-hand navigation. This can be done by all editors.
While logged in to TYPO3, select the page (link) that you need to update (as pictured in Figure 19).
Figure 17
Click on the pencil next to “Edit page properties” (as pictured in Figure 17-1)
Figure 17-1
Note!! Do NOT change page title!
Under the General tab, choose Link to External URL in the Type dropdown. Scroll to the bottom of the open element and paste the new URL in the URL field. Save and close (as pictured in Figure 17-2).
17-2
To check if the new URL is correct, select View to display the department’s page including the left-hand navigation (as pictured in Figure (17-3). Test your edited link. If it works properly, go back to Workspaces and move the page through the publishing process.
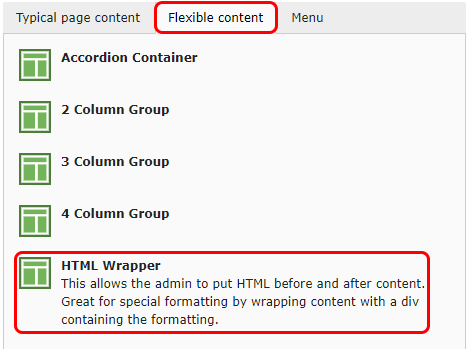
First, create a new content element, then choose the Flexible Content section and select HTML wrapper (as pictured in Figure 18).
Figure 18
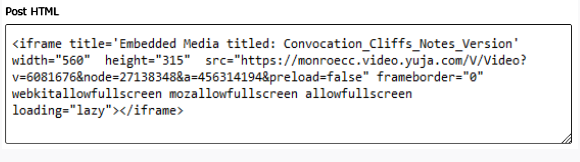
Once the Content Element is created, scroll down to the Post HTML section.
Embedding Yuja Media Videos
In Post HTML section, paste the URL for your video in the Yuja media server that you have received from Instructional Technology (as pictured in Figure 18-1).
Figure 18-1
Embedding Youtube Videos
You will need to generate the proper URL for the Youtube video that you want to embed.
Go to the Youtube video that you want to embed.
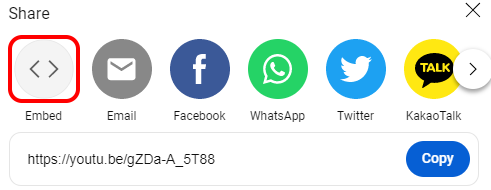
At the right corner below the video, click on Share (as pictured in Figure 19). Figure 19
Click on the Embed icon (as pictured in Figure 19-1). Figure 19-1
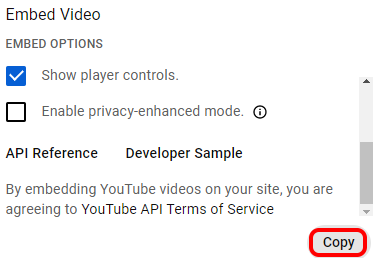
Scroll down to the bottom of the Embed Video screen and select copy to get the URL for embedding the video (as pictured in Figure 19-2). Figure 19-2
The URL for the Youtube video should look like this: <iframe width=”560″ height=”315″ src=”https://www.youtube.com/embed/8V7BR_X4IFc” title=”YouTube video player” frameborder=”0″ allow=”accelerometer; autoplay; clipboard-write; encrypted-media; gyroscope; picture-in-picture; web-share” allowfullscreen></iframe>
How to Move a Page in the Navigation:
First, select Extended view if it is already not enabled.
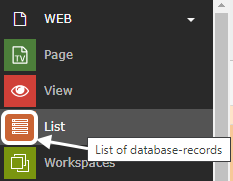
Select the List of database-records icon.
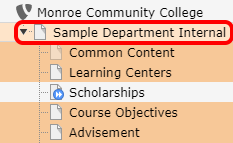
Select the Landing Page in the page tree
Check the box before Extended View (if not already selected). (as pictured in Figure 20)
Figure 20
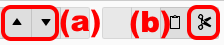
Extended View will provide you with options to move pages by either using (a) the up and down arrows or (b) the scissors to cut and then paste in another location (as pictured in Figure 20-1).
Figure 20-1
To move a page using the cut-and-paste method, go to the List of database-records module (as pictured in Figure 20-2)
Figure 20-2
To open the list of pages, select your Landing Page in the Pagetree (as pictured in Figure 20-3).
Figure 20-3
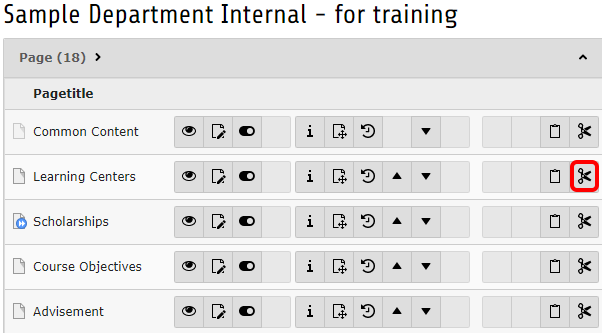
Click on the Cut icon in the list of pages for the page that you want to move (as pictured in Figure 20-4).
Figure 20-4
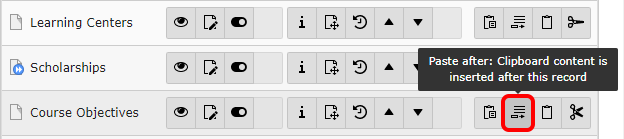
Your cut page will now show . All pages will now show Paste Into or Paste After.
Select the location where you want your page and select Paste after (as pictured in Figure 20-5). If you want to create a new subpage, you will need to submit a technology request.
Figure 20-5
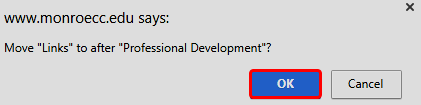
Be sure to click OK on the popup to confirm the page move (as pictured in Figure 20-6).

 to check your work.
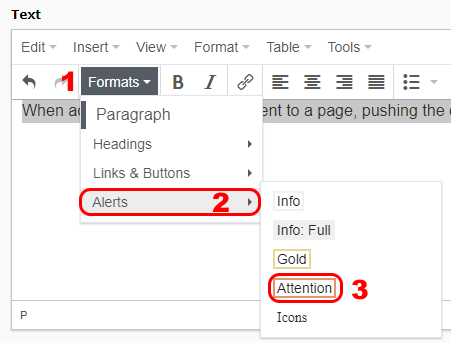

 and (copy *) will replace the Header (as pictured in Figure 16-3).
 (as pictured in Figure 16-4). Now you can edit your text as usual. Remember to type in a new Header!