 This activity is designed to help students gain 3D visual intuition for the meaning of the Lagrange Multiplier approach to constrained optimization. It is intended as an introduction to this topic to guide students through the discovery of the relationships involved.
We have two different versions of this activity:
- An instructor-led discussion using a script in CalcPlot3D (Shelby’s):
- PDF for Shelby’s version: Lagrange_Multipliers_Activity_Using_Script
- Word file for Shelby’s version: Lagrange_Multipliers_Activity_Using_Script.docx
- Instructor’s guide: Lagrange_Mulitplier_Activity_with_Script Instructor Notes
- An instructor-guided small group activity (Paul’s):
- PDF for Paul’s version: 212LA-LagrangeMultipliers-v3F24
- Word file for Paul’s version: 212LA-LagrangeMultipliers-v3F24.docx
- Contour plot page for this activity (PDF): 212LA-LagrangeActivity-basepage-v5
- Word file with this contour plot page: 212LA-LagrangeActivity-basepage-v5.docx
For both versions of this activity we used a 3D-printed form along with a thermoformer to create the plastic surfaces.
Here is the STL file for this mold: Surface1_Mold_improved-STL
Note that you will still need to set up the 3D print to optimize it for thermoforming. As described below, I’ve found 13 walls, no floor, and a 20% gyroid infill seems to work well.
Here is the Cura .3mf file for the surface whose contour plot is shown in the activity. It’s set up for an Ultimaker S5 3D printer, but should work with an Ultimaker S3 as well. It is configured to use 13 walls, no floor and gyroid infill at 20%. These settings have worked well to keep the mold from deforming during the thermoforming process.
White Mountain Mold – Cura .3mf file for the surface mold in a .zip file
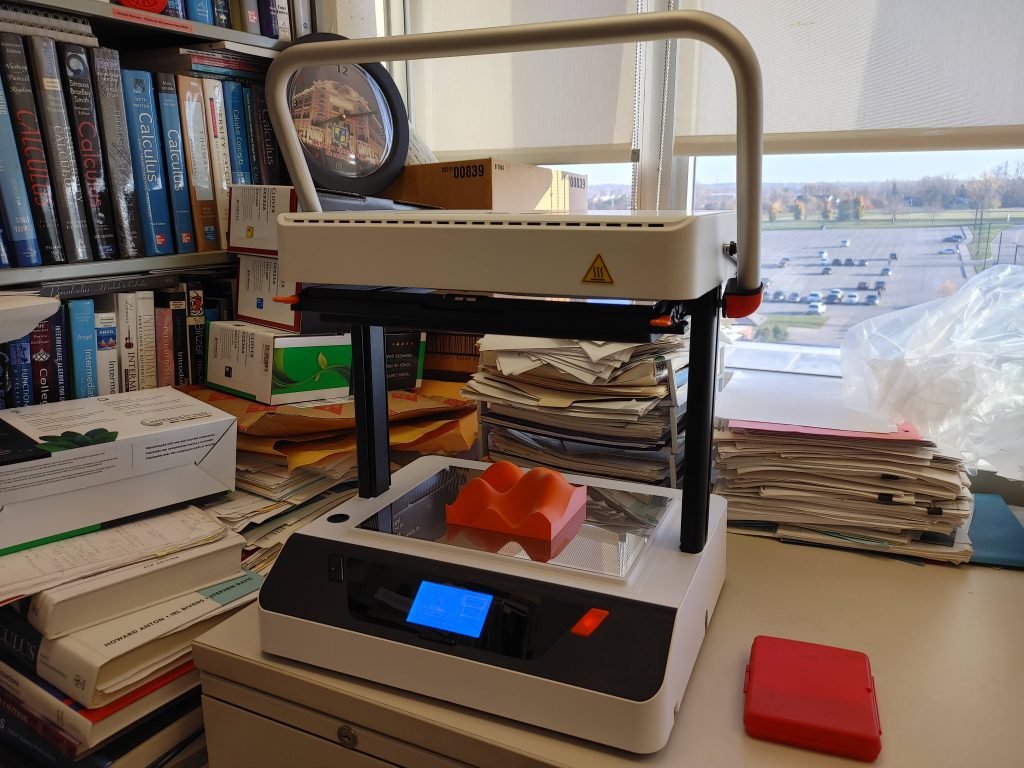
Below you can see the Vaquform DT2 thermoformer that I used for this purpose in my office.

